Windows Movie Player
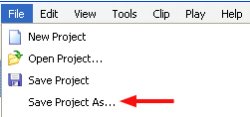 The first thing you should do when you open Windows Movie Maker to work on a new project is save the project file:
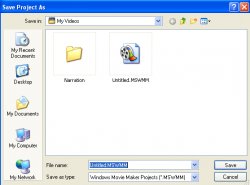
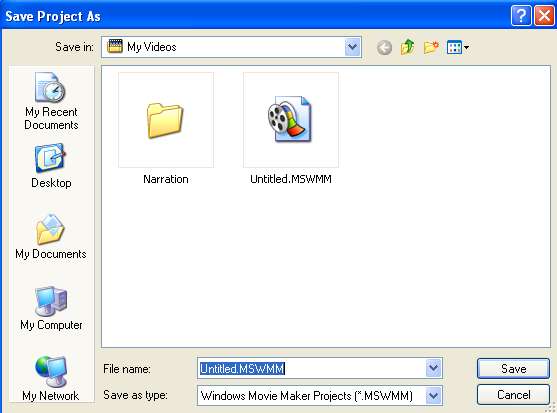
- Choose a save location on your computer and enter a name for your file in the File name field.
You should save your project file as often as possible by selecting File > Save Project. The project file contains the information that will allow you to open the project with Movie Maker at a later time if you need to make additional edits.
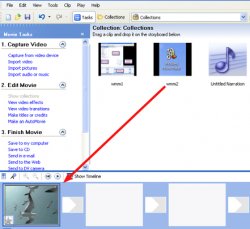
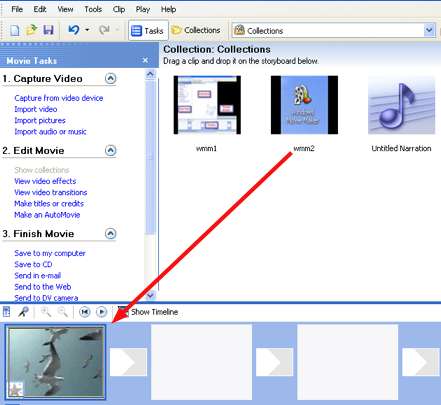
The first step in making a movie with Movie Maker is to capture or import the content you want to use (such as video clips and still images). Once you have captured or imported the clips and still images you want to use in your movie, the next step is to use the Storyboard to arrange these assets into a sequence:
- Select a clip or still image you want to add to your movie in the Collection area.
 To preview a clip before you add it to your movie, click on it once in the Collection area to select it and press the Play button in the Preview Monitor.
 - To add the clip or image to your movie, drag the clip or still image into one of the rectangular boxes in the Storyboard.
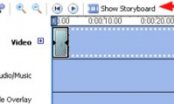
If you do not see the Storyboard, click on the Show Storyboard button above the timeline.
- Repeat the previous steps to add more clips or still images to your movie.
- You can change the order of clips and images by dragging them to different locations in the Storyboard.
- To remove a clip or image from the Storyboard, click once to select it and press the Delete key on your keyboard.
 This will only remove the clip or image from the Storyboard. The original will remain in your Collection so you can use it again at a later time.
Transitions can add variety and visual interest to your movie. However, you should use them in moderation. To add a transition between two clips or images:
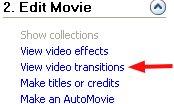
- Select View video transitions in the Edit Movie section of the Movie Tasks pane (or choose Video Transitions from the Collections pulldown menu).
 If you do not see the Movie Tasks pane, choose View > Task Pane to display it.
 - The Collection area will show a series of icons for the transitions available in Windows Movie Maker.
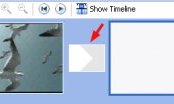
Choose a transition and drag it to one of the small rectangles between two clips in the Storyboard.
- To remove a transition, click once to select it in the Storyboard and press the Delete key on your keyboard.
Using video effects, you can give your video clips the look of aged film, change them to black and white, and more. To add a video effect to a clip:
- The Collection area will display a series of icons for the video effects available in Windows Movie Maker. Choose a video effect and drag it into a clip in the Storyboard. A star will display in the lower left corner of the clip or image to let you know that an effect has been added.
- To remove an effect, click once to select the star in the lower left corner of a clip and press the Delete key on your keyboard.

You might also like


![mer rise ses 1 Windows Media Video V11 full 1080[3]](/img/video/mer_rise_ses_1_windows_media.jpg)